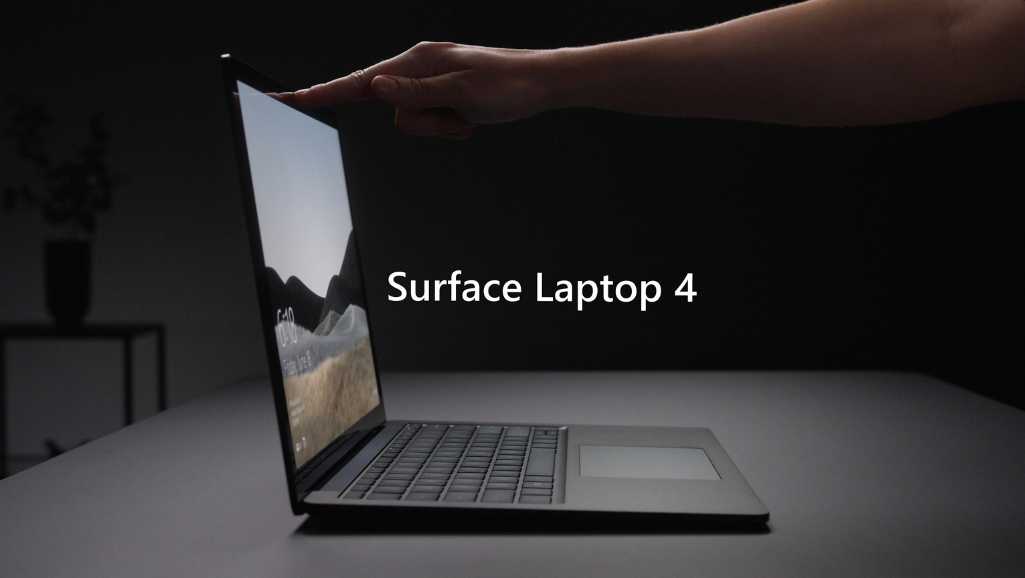
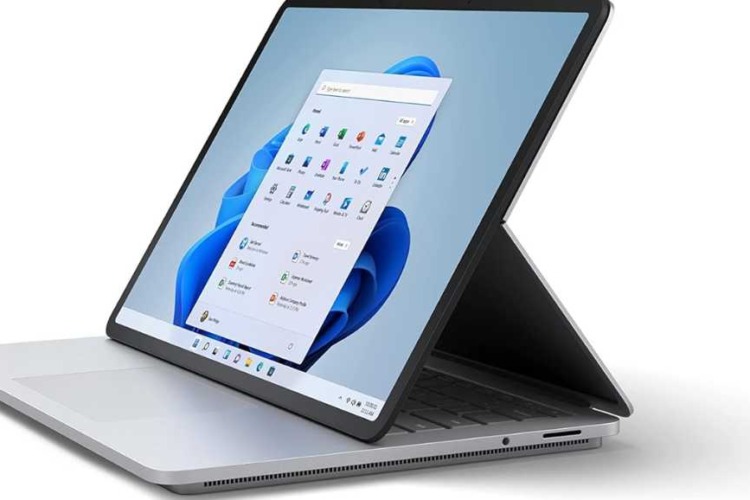
The Microsoft Surface Laptop 4 is a powerhouse, celebrated for its sleek design, robust performance, and versatile functionality. From professionals to students, it meets a wide range of needs, making it a popular choice among users. However, despite its many strengths, the Surface Laptop 4 is not immune to issues, particularly with audio functionality. Audio problems can be incredibly frustrating, especially when they interrupt important meetings, disrupt multimedia enjoyment, or hinder productivity. This blog post is designed to guide you through diagnosing and fixing common audio problems on your Surface Laptop 4. Whether you’re dealing with no sound, distorted audio, or microphone issues, this comprehensive guide will help you get your audio back on track.
Common Audio Problems on Surface Laptop 4
Audio issues on the Surface Laptop 4 can manifest in various ways, each potentially disrupting your experience. Here’s a closer look at some of the most common problems:
- No sound: This issue is perhaps the most straightforward. Your laptop appears to play media, but no sound comes out of the speakers. This can be incredibly disruptive, particularly if you rely on audio for communication or entertainment.
- Distorted sound: In this scenario, audio plays, but it’s garbled or unclear. Distorted sound can make it difficult to understand dialogue or enjoy music, making this a critical issue to address.
- Audio cutting out: Sound intermittently stops and starts, creating an erratic listening experience. This issue can be particularly frustrating during calls or when listening to music.
- Low volume issues: Even at maximum volume, the sound is too quiet. This problem can be particularly perplexing, especially when you need higher volume levels for presentations or media consumption.
- Microphone problems: The built-in microphone doesn’t pick up sound or is too quiet, which can disrupt communication during video calls or recordings.
Understanding these issues is the first step toward troubleshooting and fixing them. Let’s delve deeper into the steps you can take to resolve these problems.
Preliminary Checks
Before diving into more technical solutions, conducting some preliminary checks can save time and effort. Here are some basic steps to ensure that your audio settings are correctly configured:
- Ensure volume is up: It might sound obvious, but double-checking that your laptop’s volume is not muted and is set to an adequate level is crucial. Sometimes, the solution is as simple as turning up the volume.
- Check physical connections: If you’re using external speakers or headphones, ensure they are correctly plugged in. Loose or faulty connections can often cause audio issues.
- Restart the laptop: A simple restart can resolve minor glitches that might be causing the audio problem. Restarting can refresh the system and eliminate temporary issues.
- Check for updates: Ensure your system is up-to-date by checking for Windows updates. Updates often include fixes for known issues and can resolve compatibility problems that affect audio performance.
Troubleshooting Steps
Step 1: Check Sound Settings
The first troubleshooting step involves verifying your sound settings. Incorrect settings can often be the culprit behind audio issues. Here’s how to ensure your sound settings are correct:
- Open Sound Settings: Right-click the sound icon in the taskbar and select “Open Sound settings.”
- Choose Output Device: Under “Choose your output device,” ensure the correct device is selected. If you’re using external speakers or headphones, they should be listed here.
- Adjust Volume Levels: Make sure the volume levels are set appropriately. Check both the master volume and application-specific volumes to ensure nothing is muted or set too low.
These steps can help identify if the issue lies with the audio settings.
Step 2: Update Audio Drivers
Outdated or corrupted audio drivers can cause sound issues on your Surface Laptop 4. Updating your drivers can resolve many common audio problems. Here’s how to do it:
- Open Device Manager: Press
Win + X and select “Device Manager.” - Expand Sound Controllers: Expand the “Sound, video and game controllers” section.
- Update Driver: Right-click your audio device and select “Update driver.”
- Choose Update Method: Choose “Search automatically for updated driver software.” Windows will search for the latest driver and install it if available.
If automatic updates don’t work, you can manually download the latest drivers from the manufacturer’s website.
Step 3: Run Audio Troubleshooter
Windows has a built-in audio troubleshooter that can detect and fix common problems. Using the troubleshooter is a straightforward process:
- Access Troubleshooter: Go to “Settings” > “Update & Security” > “Troubleshoot.”
- Select Audio Troubleshooter: Select “Playing Audio” and then “Run the troubleshooter.”
- Follow Instructions: Follow the on-screen instructions to complete the process. The troubleshooter will scan for issues and suggest fixes.
This tool can resolve a variety of audio issues automatically, making it a valuable first step in troubleshooting.
Step 4: Check for Windows Updates
Keeping your system updated is crucial for optimal performance. Windows updates often include fixes for bugs and compatibility issues that can affect audio functionality:
- Check for Updates: Go to “Settings” > “Update & Security” > “Windows Update.”
- Install Updates: Click “Check for updates.” If updates are available, download and install them.
- Restart Your Laptop: Restart your laptop after installing updates to ensure they take effect.
Regular updates can prevent many common problems and keep your system running smoothly.
Step 5: Reinstall Audio Drivers
If updating doesn’t work, reinstalling the audio drivers might help. Here’s how to do it:
- Open Device Manager: Open “Device Manager” and expand “Sound, video and game controllers.”
- Uninstall Driver: Right-click your audio device and select “Uninstall device.”
- Restart Laptop: Restart your laptop. Windows will automatically reinstall the drivers.
Reinstalling can resolve driver corruption issues that might be causing audio problems.
Step 6: Check BIOS/UEFI Settings
Sometimes, audio settings in BIOS/UEFI can be incorrect. Here’s how to check and adjust these settings:
- Access BIOS/UEFI: Restart your laptop and press the key to enter BIOS/UEFI (usually
F2, Del, or Esc). - Navigate to Audio Settings: Navigate to the audio settings section.
- Enable Audio Device: Ensure the audio device is enabled.
Save changes and exit BIOS/UEFI. This step can resolve issues related to hardware settings.
Step 7: Reset Windows
As a last resort, consider resetting Windows. This will reinstall the operating system without affecting your files:
- Access Recovery Options: Go to “Settings” > “Update & Security” > “Recovery.”
- Start Reset Process: Under “Reset this PC,” click “Get started.”
- Choose Reset Option: Choose “Keep my files” and follow the on-screen instructions.
Backup your data before proceeding to avoid any potential loss. Resetting can resolve persistent issues by restoring your system to a fresh state.
Advanced Fixes
If basic troubleshooting steps don’t resolve the issue, consider these advanced fixes:
Using Third-Party Audio Enhancement Software
Third-party software like Boom 3D or FX Sound can enhance audio output and provide better control over audio settings. These tools often offer features that the default settings lack, such as equalizers, volume boosters, and sound effects. Here’s how to use them:
- Download Software: Visit the software’s official website and download the application.
- Install and Configure: Install the software and configure it according to your preferences. These tools typically provide detailed guides on how to optimize audio settings.
- Test Audio: After configuring, test your audio to see if the issue is resolved.
Using third-party software can sometimes fix issues caused by limitations in the default audio settings.
Checking for Hardware Issues
If you suspect a hardware problem, there are a few steps you can take:
- Use External Devices: Connect external speakers or headphones to see if the issue persists. If the problem only occurs with the internal speakers, it may be a hardware issue.
- Inspect Internal Hardware: If you’re comfortable opening your laptop, check the internal connections to ensure everything is secure.
- Seek Professional Help: If you’re unsure or uncomfortable opening your laptop, seek professional help to avoid causing further damage.
Hardware issues can be more challenging to diagnose and fix, but these steps can help identify if the problem lies within the hardware.
Contacting Microsoft Support
If all else fails, contacting Microsoft Support can provide you with expert assistance. They can guide you through more complex troubleshooting steps or arrange for a repair if necessary. Here’s how to contact them:
- Visit Support Website: Go to the Microsoft Support website.
- Select Your Issue: Choose the category related to your issue (in this case, audio problems).
- Follow Support Steps: Follow the provided steps to contact support, which may include live chat, phone support, or scheduling a repair.
Microsoft Support can provide professional help for persistent issues.
Preventive Measures
To avoid future audio issues, consider these preventive measures:
- Regular updates: Keeping your operating system and drivers updated can prevent many common problems.
- Using high-quality peripherals: Investing in good quality headphones or speakers can reduce the risk of compatibility issues.
- Avoiding software conflicts: Be cautious when installing new software, especially those that affect system settings. Conflicting software can cause a variety of issues.
- Regular maintenance and checks: Periodically check your device’s health and ensure everything is working correctly. Regular maintenance can catch potential problems before they become serious.
Conclusion
Fixing audio problems on a Microsoft Surface Laptop 4 might seem daunting, but following these steps can resolve most issues. From preliminary checks and basic troubleshooting to advanced fixes and preventive measures, this guide covers all aspects of maintaining and repairing your laptop’s audio functionality. Regular maintenance and preventive measures can keep your audio functioning smoothly. If you encounter persistent problems, don’t hesitate to seek professional help. With proper care, your Surface Laptop 4 can provide an excellent audio experience for years to come.
Experiencing persistent audio issues on your Microsoft Surface Laptop 4?
Don’t let audio problems disrupt your work or play any longer. Bring your device to
Volta PC Upgrade & Repair for professional assistance. Our expert technicians specialize in diagnosing and fixing laptop audio issues swiftly and efficiently. Trust Volta PC Upgrade & Repair to restore your laptop’s audio performance to its best. Visit us today and experience top-notch
laptop repair service and support. Your satisfaction is our priority. Fix your Surface Laptop 4’s audio problems at Volta PC Upgrade & Repair and get back to enjoying flawless sound quality!
- Address:
- Tai Seng Branch: 8 Burn Road #01-04, Trivex, Singapore 369977
- Jurong Branch: Blk 132 #01-279C, Jurong Gateway Road, Singapore 6001324
- Contact: Whatsapp us | Call 69500453 | Telegram us


